How to Program a Garage Door Opener Remote
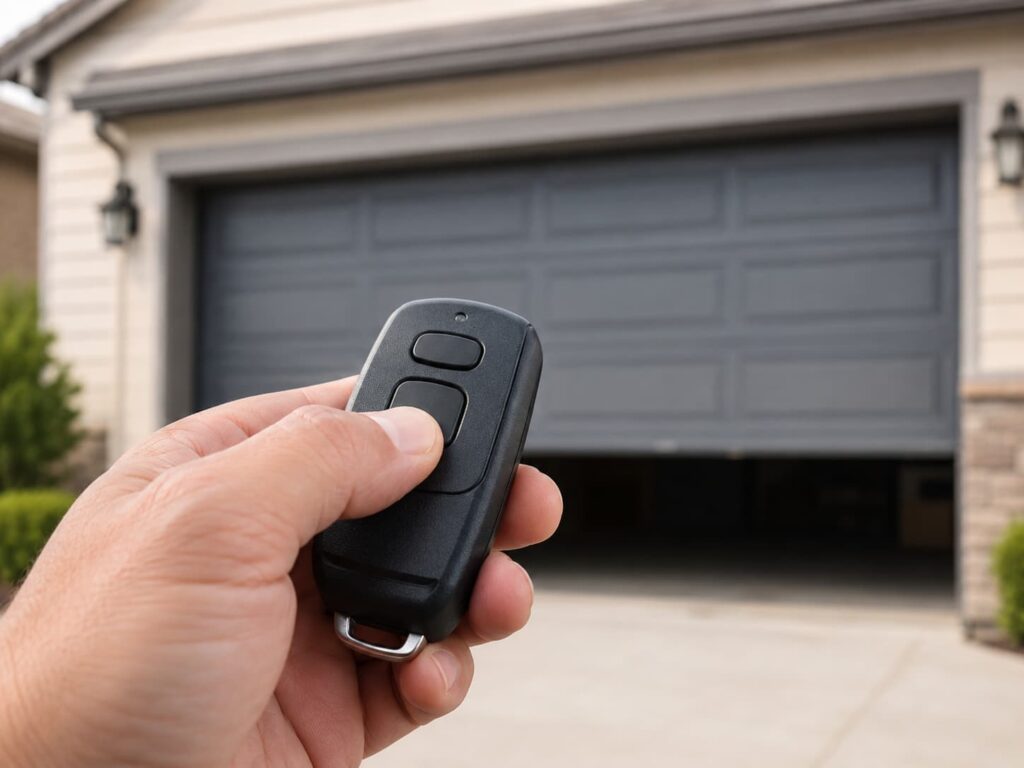
Programming a garage door opener remote takes about two minutes and requires no tools.
Every modern opener has a Learn button on the motor unit. Press it, then press the button on your remote within 30 seconds. The opener confirms with a light blink or a click.
According to Chamberlain Group, most Chamberlain and LiftMaster remotes can be programmed in just a few minutes.
The most common reason a remote stops working is a dead battery. Check that first before assuming the opener needs reprogramming.
This guide covers step-by-step instructions for LiftMaster, Chamberlain, and Genie. Find your brand and follow the steps.
Before You Start: Find the Learn Button
Every garage door opener has a Learn button on the motor unit. This is the button you press to put the opener into programming mode. It sits on the back or side of the unit, sometimes behind the light cover. Depending on the brand and model, the button may be a specific color.
That color tells you which radio frequency your opener uses, which matters when you buy a compatible remote.
LiftMaster and Chamberlain Learn Button Colors
LiftMaster and Chamberlain share the same color system. They are made by the same company:
- Purple or Yellow: Security+ 2.0 (current models, most common)
- Orange or Red: Security+ (older models, roughly pre-2011)
- Green: Billion Code (oldest, 1990s era)
Genie Learn Button
Genie openers use their own system. Newer models have a similar Learn or Program button near the antenna wire. Older models may use DIP switches instead of a Learn button. More on those below.
Tip: If you need to buy a new remote, note the color of your Learn button before you shop. A remote designed for a purple-button opener won’t work with an orange-button opener, even within the same brand.
How to Program a LiftMaster Remote
LiftMaster is the brand we install most often, and the programming process is straightforward. These steps work for most residential LiftMaster models made in the last 15 years.
Step 1: Locate the Learn Button
Use a ladder or step stool to find the Learn button on the back or side of the motor unit. It’s a small square button, usually purple or yellow on newer models.
Step 2: Press and Release the Learn Button
Press once and release. Don’t hold it down. The indicator light next to the button will turn on. You now have about 30 seconds to complete the next step.
Step 3: Press and Hold the Remote Button
Within 30 seconds, press and hold the button on your remote that you want to use for this door. Hold it for about three seconds. The opener’s lights will blink, or you’ll hear a click. That confirms the remote is paired.
Step 4: Test the Remote
Step back and press the remote button. The door should move. Press it again to confirm it works in both directions.
Tip: Programming multiple remotes: Repeat the process for each one. Press the Learn button again before each new remote. The opener stores them all without erasing the others.
How to Program a Chamberlain Remote
Chamberlain and LiftMaster are made by the same company, Chamberlain Group, so the programming process is nearly identical. The steps below follow the same Learn button method.
Step 1: Find the Learn Button
Check the back or side of the motor unit. Same color coding applies: purple or yellow for current models, orange or red for older ones.
Step 2: Press and Release the Learn Button
One quick press. The LED indicator will light up. You’ll have about 30 seconds to pair the remote.
Step 3: Press and Hold the Remote Button
Hold the button you want to program for about three seconds. Watch for the opener’s lights to blink or listen for a click.
Step 4: Test the Remote
Press the button to make sure the door opens and closes properly. If it doesn’t respond, try the process again from step 2.
If you’re using a Chamberlain remote with a Chamberlain opener, compatibility is almost never an issue. Just match the Learn button color to the remote’s frequency.
How to Program a Genie Remote
Genie uses a slightly different approach depending on the age of your opener. Newer models follow a similar Learn button process. Older models use DIP switches instead.
Newer Genie Models (Intellicode)
Step 1: Find the Learn or Program button on the motor unit, usually near the antenna wire.
Step 2: Press and hold the button until the indicator light starts blinking. This puts the opener into programming mode.
Step 3: Within 30 seconds, press and hold the button on your Genie remote. The opener’s light will stop blinking or you’ll hear a click when pairing completes.
Step 4: Press the remote and confirm the door responds in both directions.
Older Genie Models (DIP Switches)
If your opener has DIP switches instead of a Learn button, open the back of your remote and the cover on the opener to access the switch panel. Set the switches inside the remote to match the exact same positions as the switches on the opener. There are usually 9 or 12 switches. Once they match, the remote should work immediately with no button pressing needed.
Heads up: DIP switch systems are older and less secure. Anyone with a compatible remote who matches your switch pattern can open your door. If you’re still using a DIP switch opener, an upgrade to a rolling-code model is worth considering for better security.
Remote Still Not Working? Try These First
If you followed the steps and the remote still won’t pair, work through this list before calling for help.
Check the Battery First
A weak battery is the single most common cause of pairing failures, and it’s the one most people overlook. We’ve shown up to calls across San Antonio where older homeowners assumed their opener had a problem, and all it needed was a fresh battery in the remote. The signal can weaken over days before it stops entirely, so even a battery that isn’t completely dead can cause pairing issues. Swap it out before troubleshooting anything else.
Check the Antenna Wire on the Opener
There’s a small wire hanging down from the motor unit. If it’s coiled up, tucked away, or damaged, the opener’s receiving range drops significantly. Make sure it hangs straight down and doesn’t touch any metal surface.
Clear the Opener’s Memory and Start Fresh
If the opener has stored too many remotes or something got scrambled, you can erase all programmed devices by pressing and holding the Learn button for about 10 seconds until the LED turns off. This wipes everything clean. You’ll need to reprogram all remotes and keypads from scratch, but it often resolves stubborn pairing problems.
Heads up: Holding the Learn button for 10 seconds erases ALL programmed remotes, keypads, and accessories. Have all your remotes nearby before you do this so you can reprogram them right after.
Make Sure the Remote Matches Your Opener
A LiftMaster remote designed for a purple Learn button won’t program to an opener with an orange Learn button. Same brand, different frequency. Check compatibility before assuming something is broken.
When to Call a Technician
If none of the above works, the issue may be with the opener’s receiver or logic board, not the remote. At that point, it’s worth having a technician take a look. We handle garage door opener repair across the San Antonio area and can diagnose remote and receiver issues on-site.
Need Help With Your Opener?
Programming a remote is usually a quick fix. But if your remote still won’t work after trying everything above, or if your opener has other issues like grinding noises, a blinking light, or a door that reverses unexpectedly, it may need professional attention.
Sentinel Garage Door provides garage door opener repair and opener replacement across the San Antonio area. Whether it’s a simple remote issue or a deeper electrical problem, we can diagnose it and get your opener working properly. Call us or schedule online.
Call us at (210) 864-9594 or visit sentinelgaragedoorrepair.com to schedule service. We’re open Sundays and holidays. |